So you couldn’t resist that great price point and you bought yourself an Oculus Go. You’ve spent a little time with it. You’ve played with a few apps and gotten ensconced in a few games. However, you’re now ready to watch some movies on this modern wonder.
Whether you are working with a Windows system or MacOS, it’s a breeze to do. Here’s how!
Windows
- Connect your Oculus Go to your PC with a micro USB cable.
- In your headset, you will have to give your PC permission to gain access. Select Allow Access to Data.
- Once you are connected to your PC, the Autoplay feature should open. If it does, select Open Device to View Files.
-
If Autoplay does not start, you can manually browse to Oculus Go Storage through File Explorer. It will be named VR-Headset.
- Once you have your VR-Headset open, select Internal Shared Storage.
-
Open the folder named Movies.
- You can now drag and drop videos into the storage of your Oculus Go.
MacOS
- Download the File Transfer Tool from Android and install it on your Mac.
- Connect your Oculus Go to your Mac with a micro USB cable.
- Open the File Transfer Tool you just installed.
- In your headset, you will have to give your computer permission to gain access. Select Allow Access to Data.
-
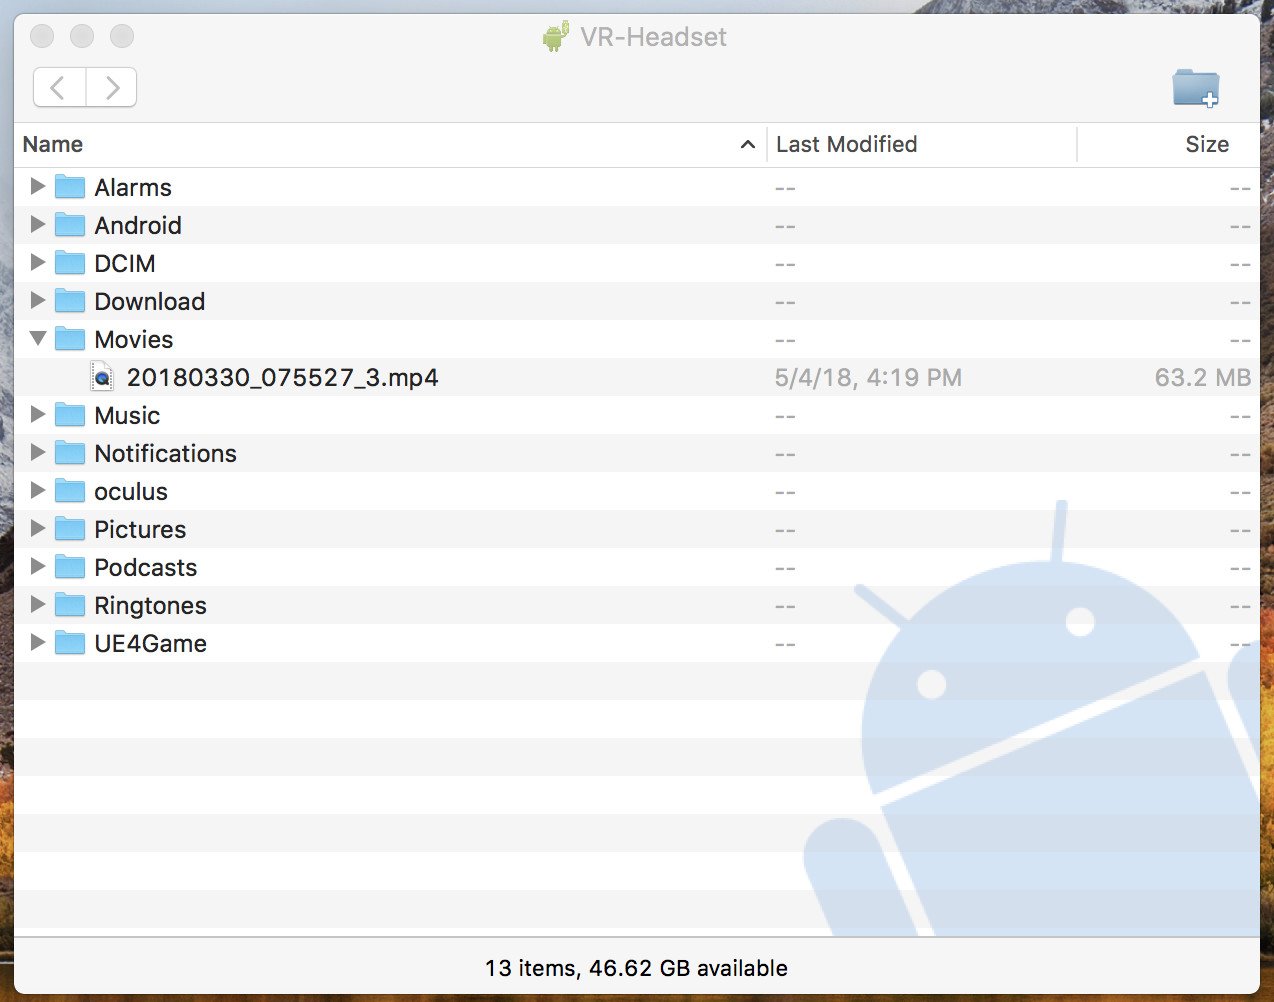
A folder named VR-Headset should automatically open

-
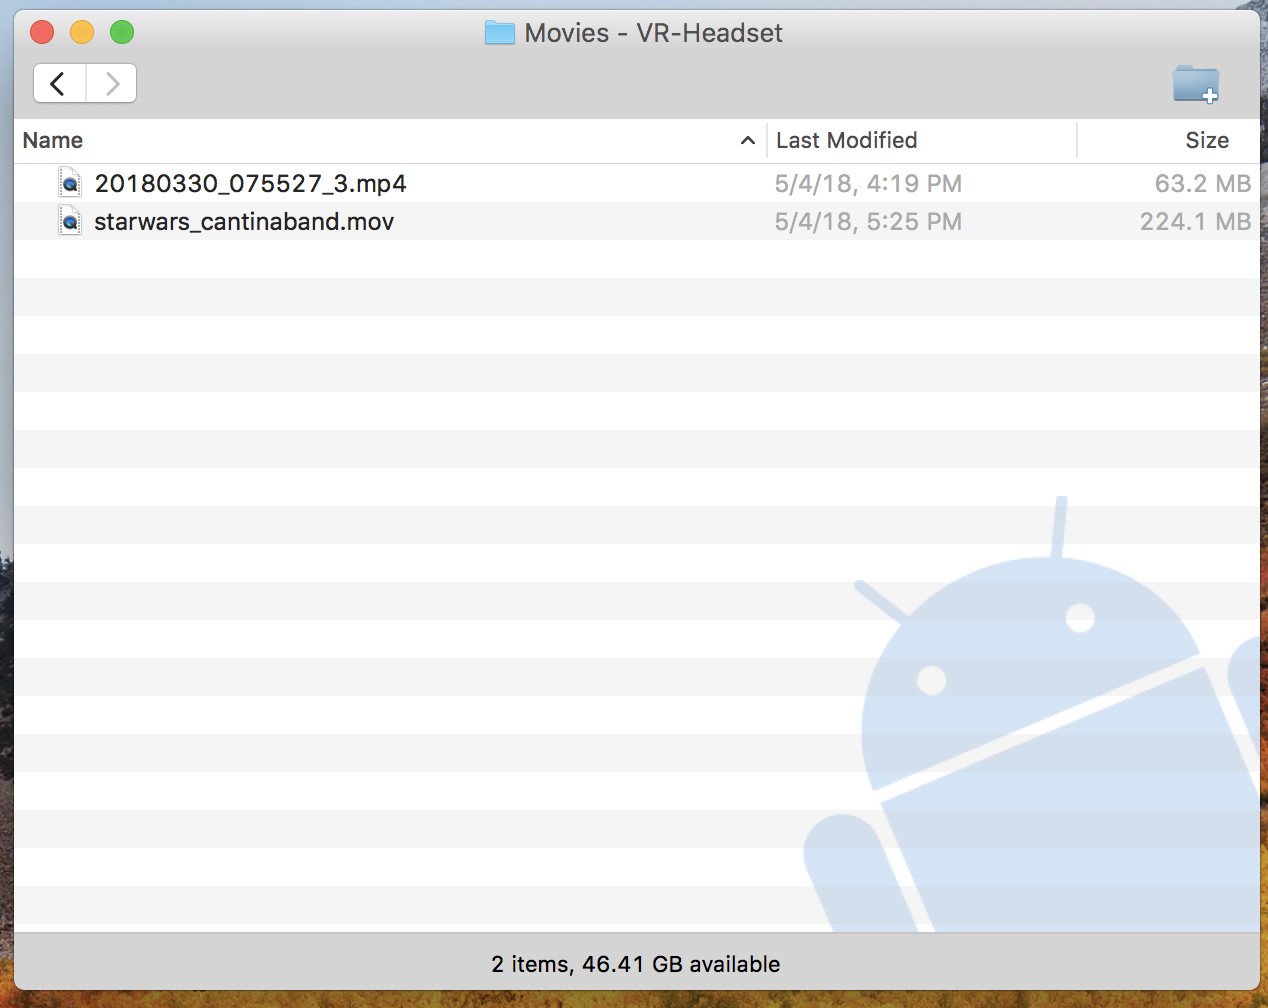
Now open the folder called Movies.


- You can now drag and drop videos directly into your Oculus Go
Whether you’re watching some home movies or Avengers: Infinity War, you can now kick up your virtual feet and enjoy watching whatever you choose. The virtual world is now your oyster.
August 2018: This article was updated with the most recent information.
Be the first to comment