![]()
![]()
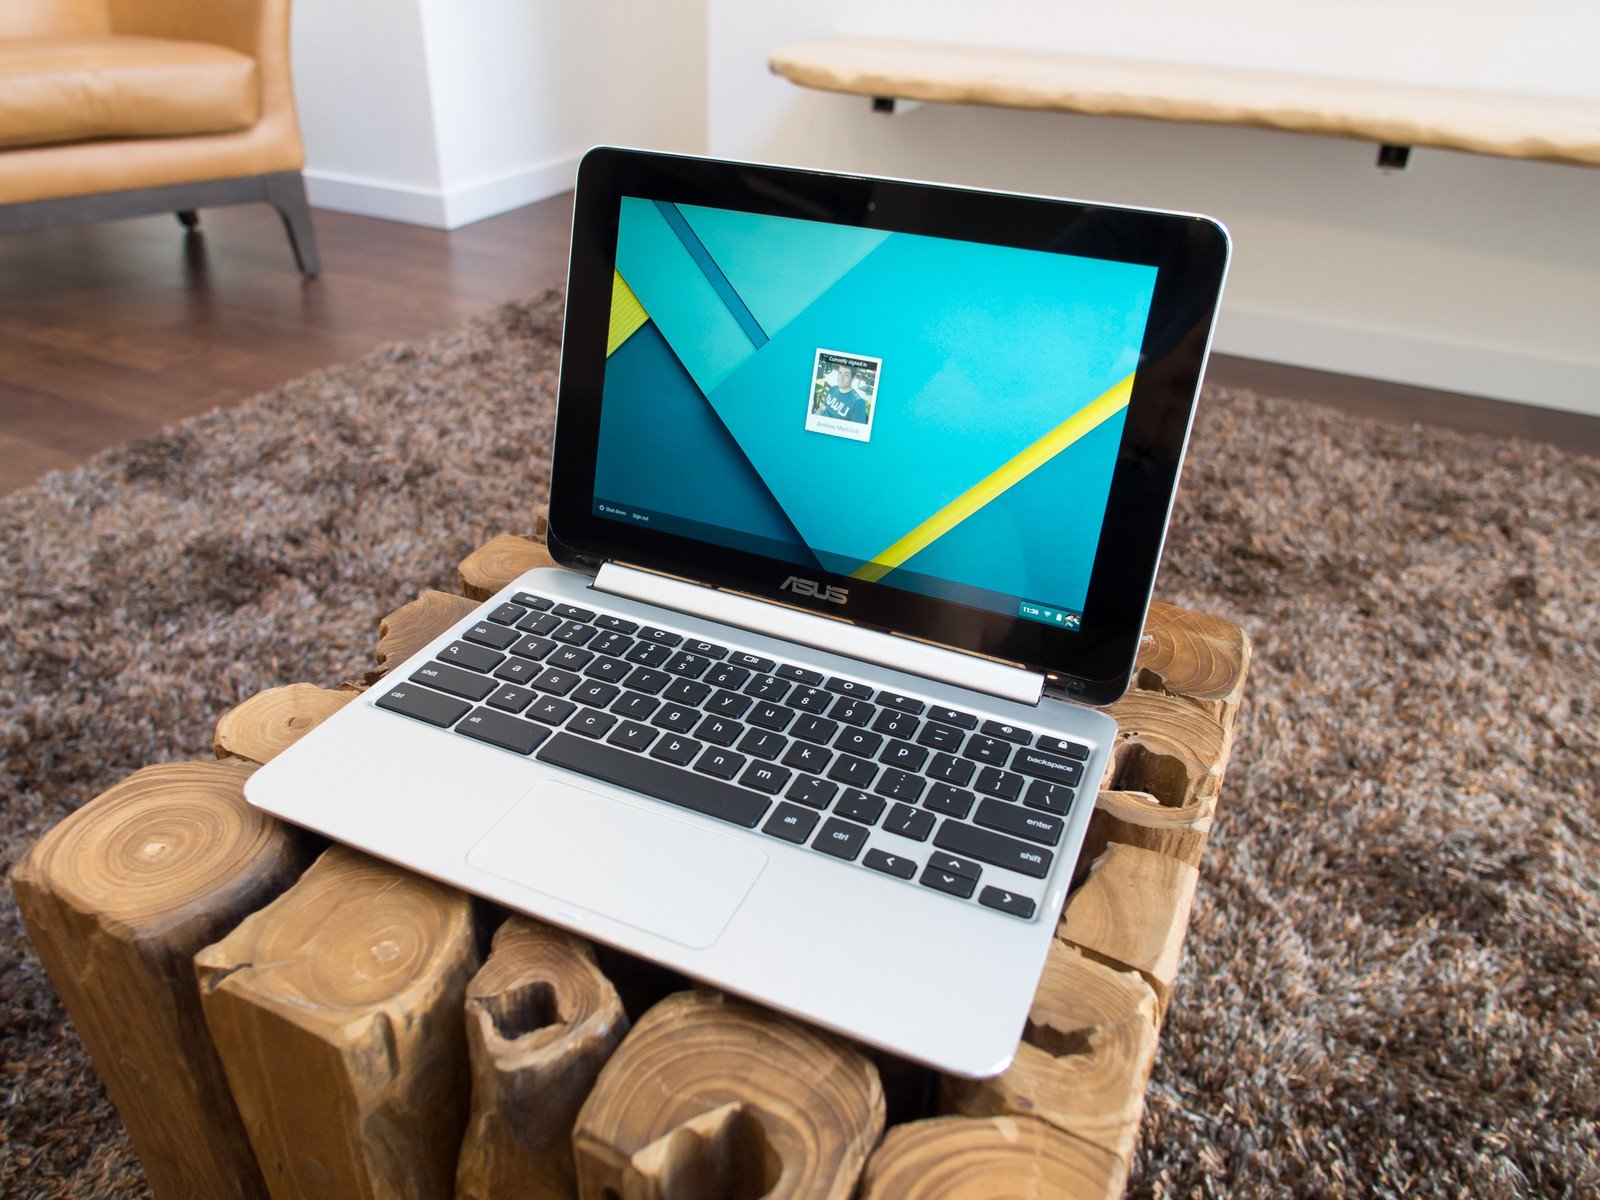
Speaking as someone who makes a living deploying and managing Windows laptops and Chromebooks , Chromebooks are awesome. Almost the entire initial setup is handled for the user automatically when they sign in with their Google account. Having said that, there are more things you can do to make your Chromebook yours after signing in.
Here are all the things you should do when setting up a brand new Chromebook!

![]()
When you get a brand new Chromebook, just pressing the power button doesn’t actually turn it on. Instead, you need to plug the charger in first. Once your Chromebook starts getting a bit of juice, it will turn on on its own and you’ll be ready to go.
If you bought a used or refurbished Chromebook, this won’t be necessary. Just hold the power button for a few seconds and your Chromebook will turn on.
Sign into your Google account


You’ll need to sign into your Google account as soon as the Chromebook boots up. This isn’t any different than signing into the Chrome browser or gmail.com. Once you’re signed in, your bookmarks, themes, and other settings will synchronize.
If you’re on a business-owned Chromebook, it’s probably set up for enterprise use. In this case, just enter your employee email address, password, and two-factor authentication method instead of your personal credentials.
After signing in, your Chromebook will be completely set up and ready to use. But to get the most out of your new device, keep reading for more tips!
More: Setting up a Chromebook for Enterprise use
Download some apps

![]()
Most newer Chromebooks come with access to the Google Play Store, meaning (almost) every application on your Android phone can be installed on your Chromebook. Microsoft Word, Adobe Lightroom, and more work wonderfully on Chrome OS, and they take the Chrome experience to a whole new level.
There are plenty of consumption apps as well. Amazon Video, Netflix, Kindle, Comixology, you name it. Convertible Chromebooks are wonderful video players and book readers. Most games that run on Android phones will also work on a Chromebook, but not all support the touchpad and keyboard.
More: These are the Chromebooks that can run Android apps from Google Play
More: Best Android games for Chromebook
Add a second account


Have a friend who may need to use your Chromebook every once in a while, or do you want to add your work account? As long as those are Google accounts, they can also be added to your Chromebook!
More: How to add a second user and Google account to your Chromebook
Check out the touchpad


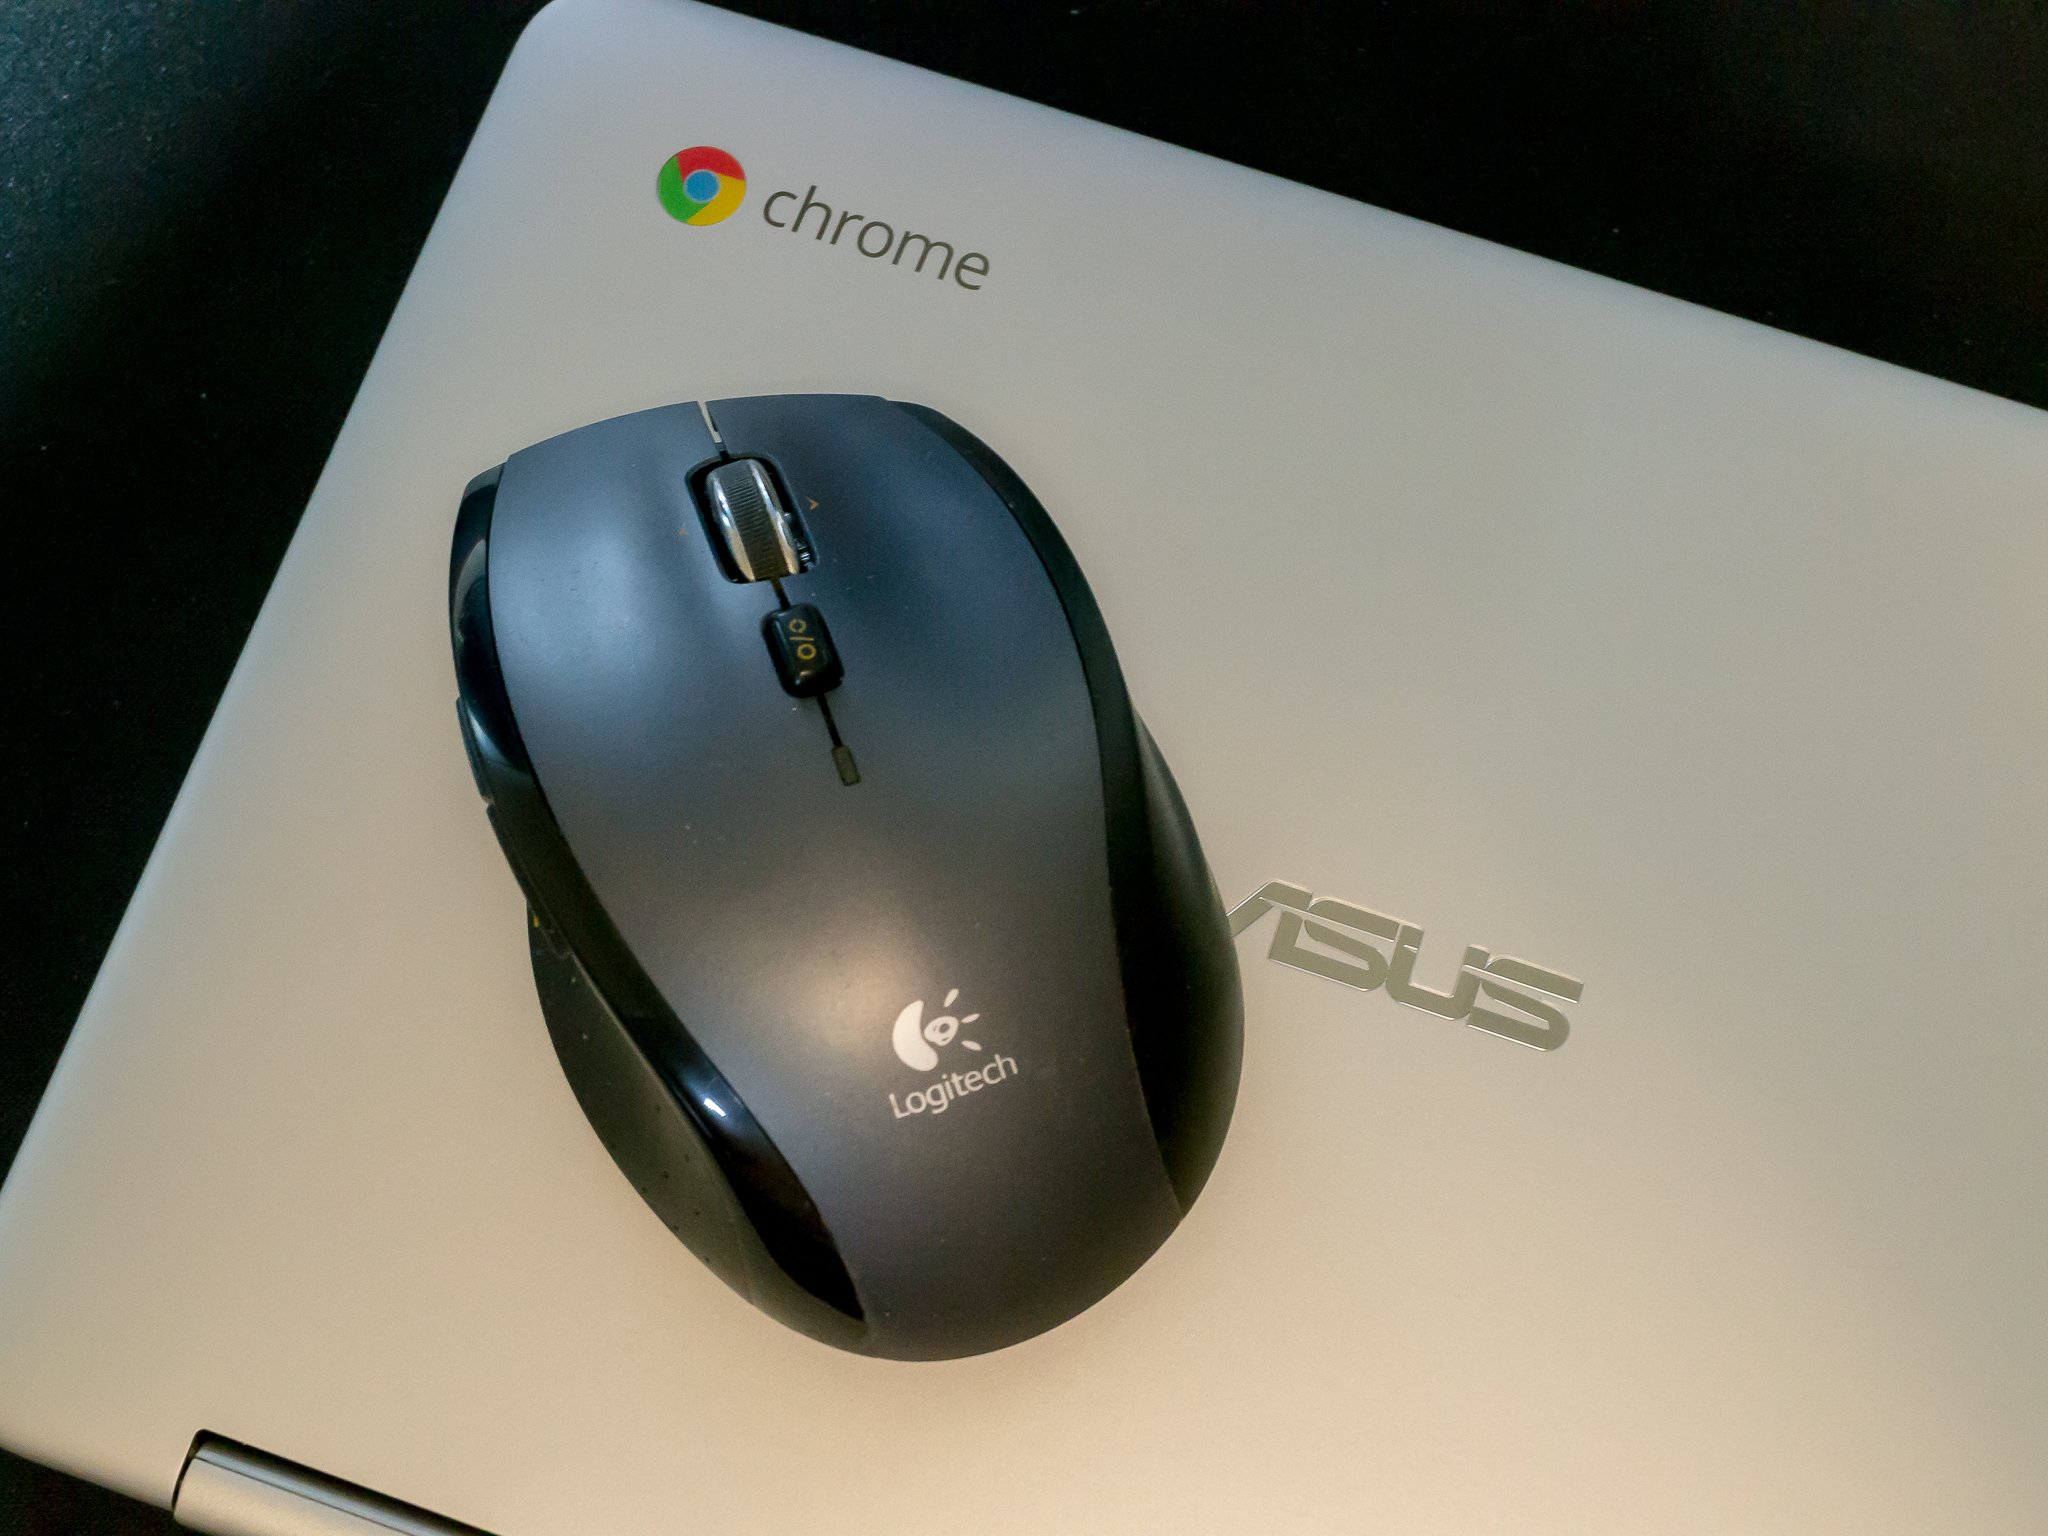
You can of course use a wired or wireless mouse with your Chromebook, but the touchpad is already there and is pretty great. Chromebook touchpads have full gesture support, but if you’re coming from a Windows laptop, it may be a bit of a change. Don’t worry, once you start poking around a bit, using the new touchpad will become second nature.
For most use cases, you’ll be perfectly happy just using one finger to move the cursor around and two fingers to scroll through a webpage. If you want to try more with your touchpad, check out our full post below.
More: How to get the most from your Chromebook touchpad
Learn the keyboard shortcuts

![]()
The keyboard is the second most common way you’ll interact with your new Chromebook, so it may be worth taking some time to learn the shortcuts that will make your life easier. Standard shortcuts like Ctrl + X for cut and Ctrl + V for paste work perfectly, and I used Chromebooks for a full year before caring about the keyboard shortcuts because everything I needed to do worked. If you want to dive in and be as productive as possible, you can see some shortcuts in the article below.
More: 10 Essential Chromebook keyboard shortcuts you need to know
Unlock your Chromebook with a PIN code


A super secure password is the best way to keep your data safe, but not necessarily the most convenient. Fortunately, you can set your Chromebook to unlock with a six-digit PIN, just like your phone does. You will still need to use the full password at least every 24 hours, after a reboot or if you switch accounts.
More: How to unlock your Chromebook with a PIN code
Set up Smart Lock


Speaking of your phone and unlocking things, if you’re reading this, you probably use an Android phone. If you do, you can set up your Chromebook to unlock automatically if your phone is connected with Bluetooth. The only caveat that applies — beside your phone being turned on and connected with Bluetooth — is the Chromebook has to be connected to an Internet connection before trying to unlock.
One cool feature is that if you have multiple Google accounts on your phone, you can use Smart Lock to login to those same accounts on your Chromebook without needing a password.
More: How to unlock your Chromebook using your Android phone with Smart Lock
Pixel phone owners — set up Instant Tethering

![]()
There’s one other cool feature for your Chromebook if you use one of Google’s phones — Instant Tethering. While every phone can be used as a Wi-Fi hotspot or tether over Bluetooth or USB, the setup process is a bit clunky. Using Instant Tethering the first time is also clunky but after that, just open your Chromebook and it’ll automagically connect to your phone’s Internet connection.
More: How to use Instant Tethering with your Chromebook
Choose what to sync


You’ve probably used the Chrome browser before picking up a Chromebook — though that’s not a requirement — and by default, all your bookmarks, passwords, and other content will synchronize back and forth between the Chrome browser on your other computer, the Chrome browser on your phone and your new Chromebook.
But let’s say you don’t want that. You may have Netflix and Hulu bookmarked on your desktop computer, but prefer using the Android apps on your Chromebook. No worries, just dive into the settings and select which data you want to sync over between devices.
More: How to choose what you sync on Chrome devices
Set up your accessories


Chromebooks will “just work” with common accessories like mice, keyboards, headphones and even printers. This includes USB mice and keyboards, 3.5mm headphones and Bluetooth versions of all of these. If you’re going to be on the go, it’s worth making sure your accessories are set up before you head out. If you have a newer printer, you can even set up printing from your Chromebook.
More: How to pair Bluetooth accessories with your Chromebook
More: How to print from a Chromebook
Check out our forums!
This isn’t an all-encompassing article, and you may have more specific questions once you begin using your Chromebook. Thankfully, our forums are chock-full of knowledgeable folks ready to lend a helping hand. Stop by there if you have any questions about your Chromebook.
**Updated in May 2018:” Updated with more information on how to set up accessories.
Main
[embedded content]
Be the first to comment